Waterproofing is a crucial part of any tiling installation in wet areas. This guide to how to waterproof showers, bathrooms and wetrooms with BAL Waterproof 1C gives you precise information on how to ensure your backgrounds are safe from damage.
While tiles are inherently waterproof, adhesives and grout aren’t and subsequently can’t prevent water travelling through the joint and into backgrounds and substrates.
Over time, continued exposure to water may damage your backgrounds, resulting in the formation of black mold or even full tile installation failure!
In fact tanking is now recommended in all domestic and commercial installations by British Standards 5385-1:2018, which states: ‘In wet areas, e.g. showers, wet rooms and steam rooms, substrates should be protected with a suitable proprietary tanking membrane system’
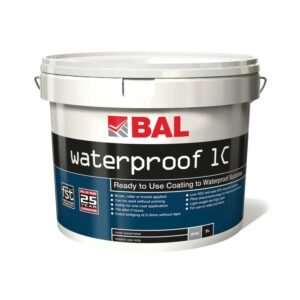
One such approved tanking membrane is BAL Waterproof 1C – a new one-coat, ready-mixed waterproofing solution for showers, bathrooms and wetrooms in internal environments.
It is easy to apply in eight easy steps, with no priming is required on most substrates:
- BAL Waterproof 1C can be applied without priming onto plasterboard, cement:sand render, screeds, concrete, plywood overlays, BAL Board (on the smooth side) and BAL Rapid-Mat uncoupling mat system.
- If waterproofing onto plaster, cement boards or BAL Board on the tiling side, then prime all surfaces with one coat of neat BAL Primer 1C using a roller or sponge and allow to dry for 15-30mins.
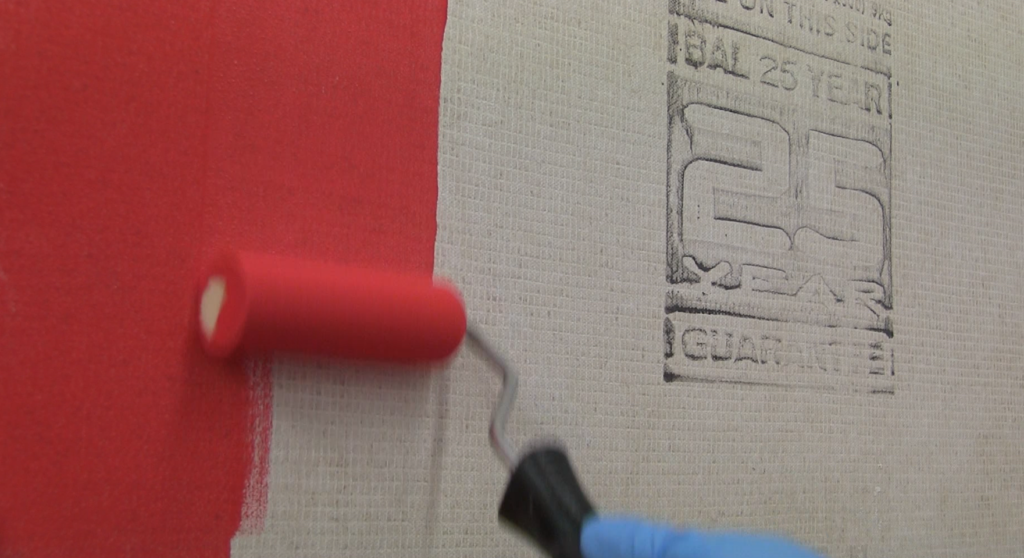
- Before applying BAL Waterproof 1C, use self-adhesive BAL Scrim Tape at:
- Internal and external corners of walls/partitions.
- Wall junctions with base/upstands/columns.
- At pipe penetration points/drainage channels/outlets.
- Junctions of different base/background materials.
- Cracks and board joints in backgrounds over 3mm wide.
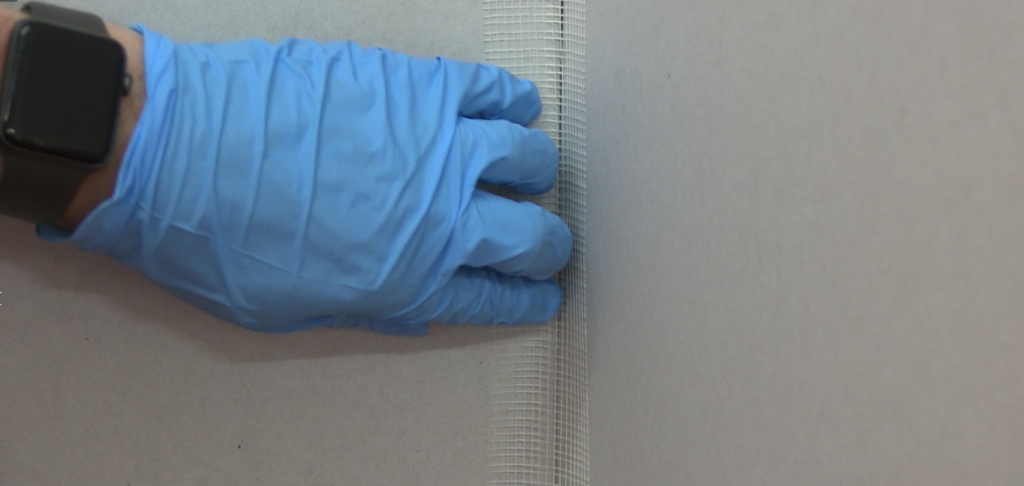
- Apply the tape and then brush over with BAL Waterproof 1C – use ready-mixed straight out of the bucket, no mixing needed!
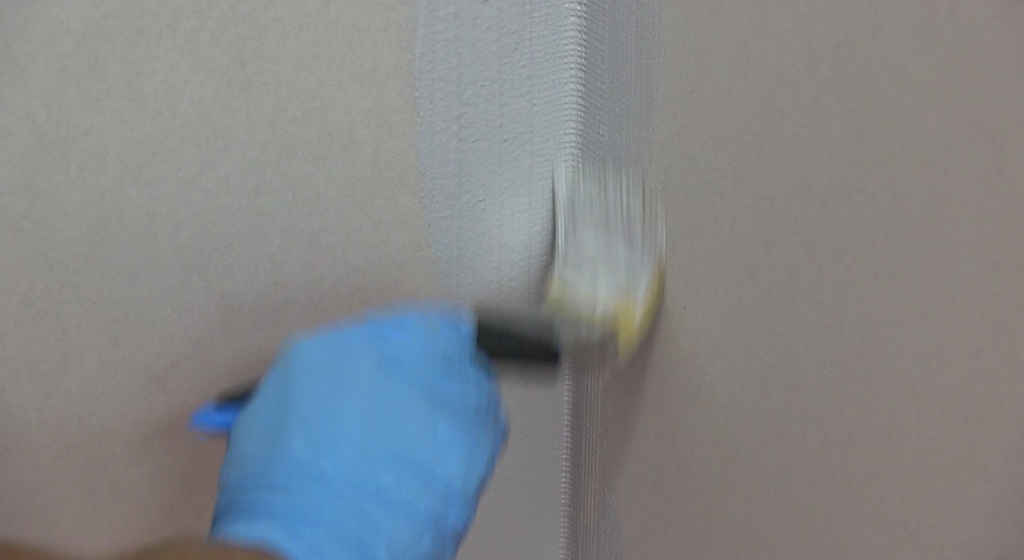
- Using a suitable roller, 4mm notched trowel or brush, apply BAL Waterproof 1C over the whole area. For cracks between 2-3mm such as board joints, brush the coating into the joints to ensure they are adequately filled.
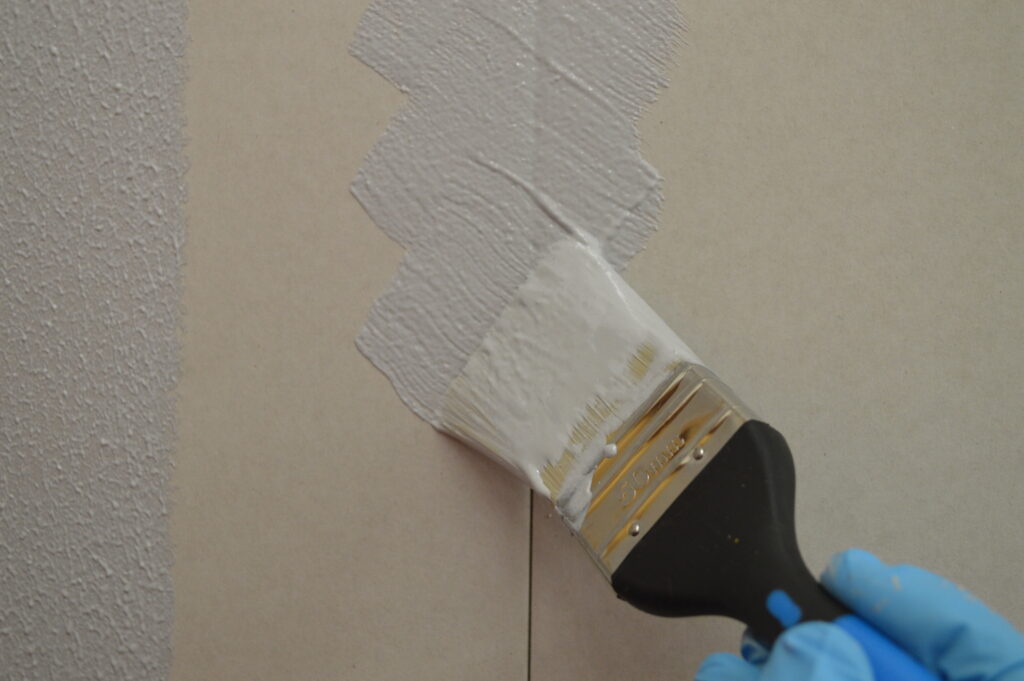
- When applying on the wall, apply one coat of BAL Waterproof 1C to walls but ensuring a minimum of 0.8mm. thickness.
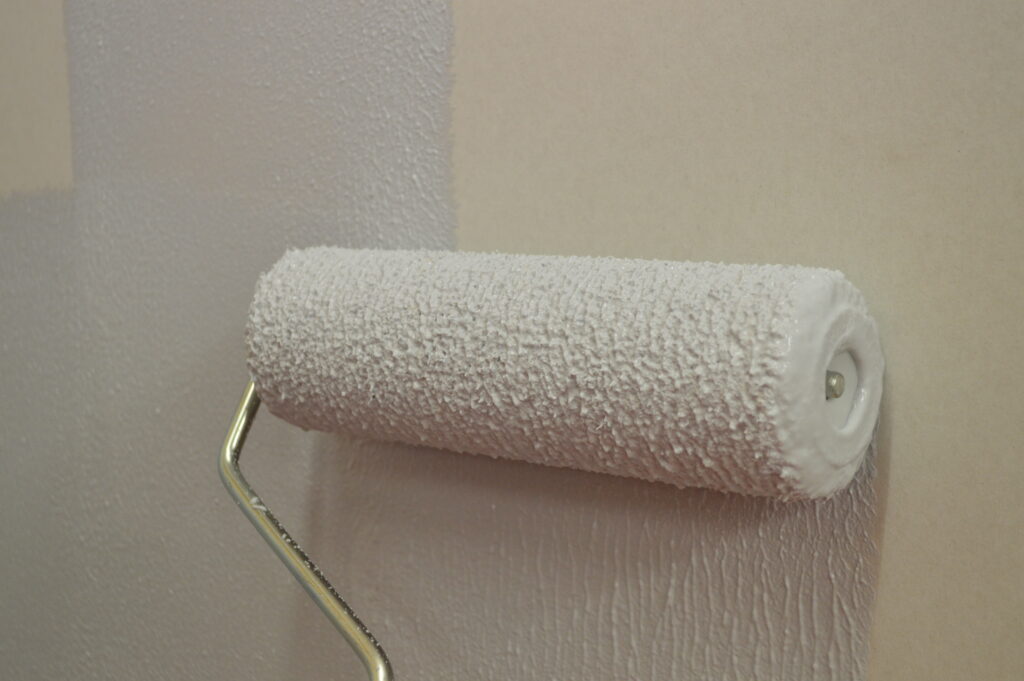
- When applying BAL Waterproof 1C to floor, ensure it is a min. 1.6mm. thickness. This can usually be achieved with a roller but two coats maybe required to achieve the thickness. We would recommended to use two coats on the floor to ensure the required thickness.
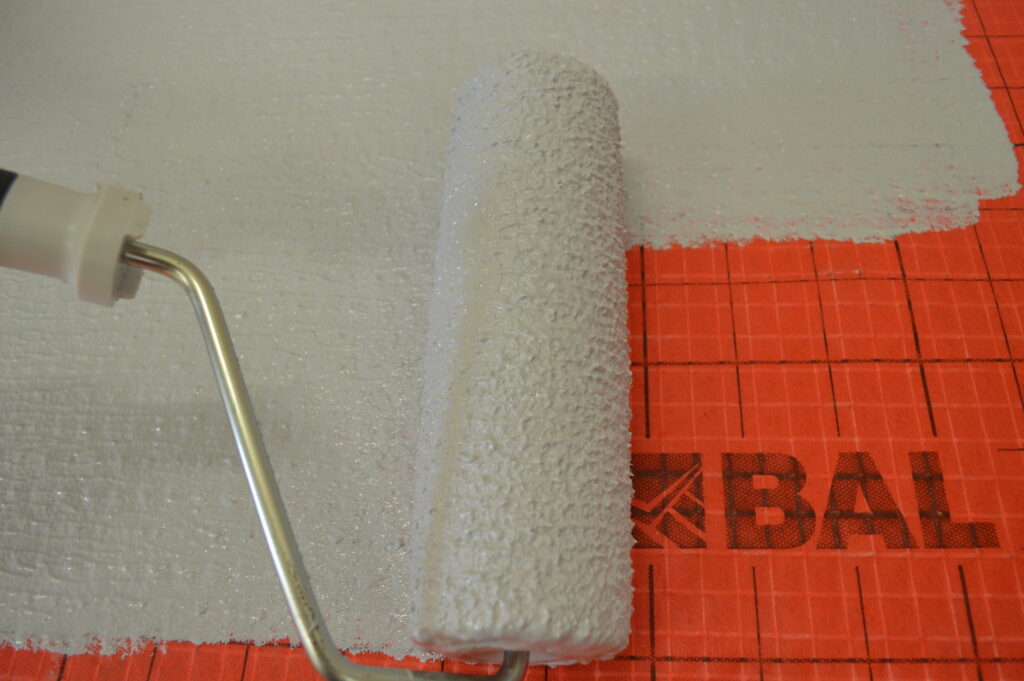
- Once applied, allow membrane to dry for a minimum of 2 hours before tiling with a suitable BAL tile adhesive.
For the latest technical or health and safety information on this product, consult the current technical or safety datasheet online at https://www.bal-adhesives.com/


